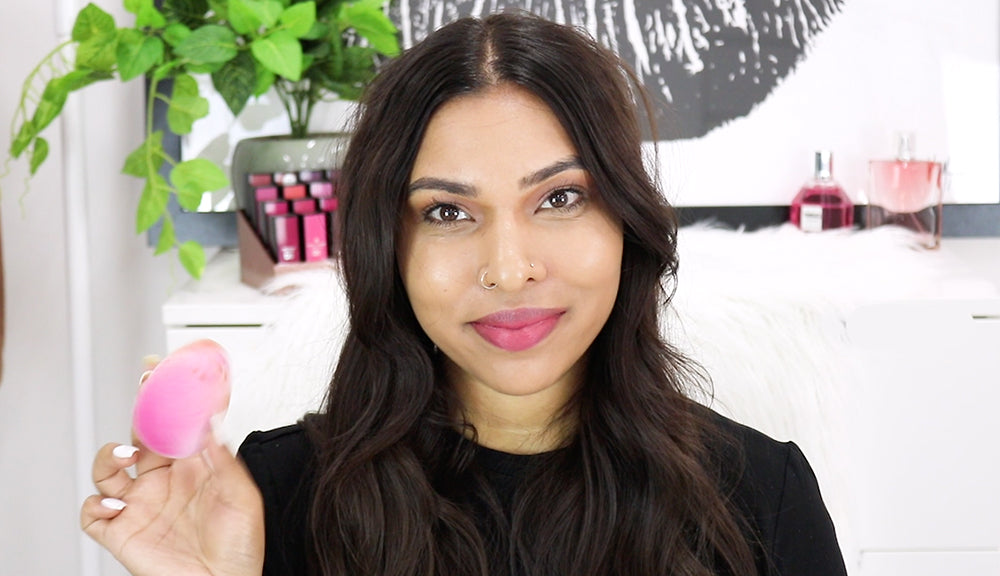
The perfect makeup look requires the right tools, and when it comes to smooth, flawless foundation, nothing beats a microfibre sponge. So if you’ve had no luck with brushes and below average results with blenders, here’s why the beauty sponge could be ‘the one’.
What's so magic about Microfibre?
Unlike other makeup applicator sponges, which tend to soak up the product before it even hits the skin, the dual-layer and unique, velvety texture of a microfibre beauty sponge provides better blending, with less makeup wastage. Used either wet or dry, the microfibre sponge evenly blends liquid, cream and powder products, for a smooth, streak-free base. It’s your foundation sponge, your contour blending sponge, your everything sponge.
And the best part? It’s also latex-free.
Latex free makeup sponges not only feel more gentle on the skin, they also contain fewer irritants making them ideal for sensitive skin types.
How to use the Microfibre Beauty Sponge
Here are our best tips on how to use your beauty blender sponge…
1. Wet for Liquids
The best way to apply foundation with a sponge – or any other liquid product – is to wet the sponge first, squeezing out any excess water until it’s slightly damp. This will help the foundation adhere to your skin better, for a smoother ‘my skin, but better’ result. We love using a Microfibre Beauty Sponge with our Luminous Hydrating Foundation for a dewy, radiant finish.
2. Stamp and Sweep
Using the rounded side (ideal for covering a larger area), buff and blend your foundation using the stamp and sweep method. Start at the centre of your face and sweep the product outwards for an even result, gently stamping and pressing the product into areas that need more coverage.
Top tip: Wondering what the difference is between applying foundation with a brush vs sponge? Foundation brushes tend to leave streaks if blended incorrectly due to the tougher bristles, whereas the soft texture of our Microfibre Sponge makes the method pretty foolproof, with a smooth finish, everytime.
3. Sides to Sculpt
Want to know how to use a blending sponge for contouring? Look no further than the sides. These flatter angles are ideal for contouring under the cheekbones, sides of the nose, and the border of your forehead. The same surface can also be used to add glow, by applying illuminator along the tops of your cheek bones, down the centre of your nose and your cupid’s bow.
Top tip: For an even easier Contour, use our Conceal Define & Contour Duo to create sculpting lines straight on the skin, and then simply use the Microfibre Sponge to blend it in.
4. Tip to Target
Last but certainly not least, the tip of the sponge is incredibly handy for targeting small areas. Use it to conceal under the eyes and cover any blemishes with a soft, stamping motion.
How to Clean a Microfibre Beauty Sponge
A clean makeup sponge is a longer-lasting makeup sponge. Luckily, it is super easy to wash.
- Rinse using water, gently squeezing out as much excess product as possible.
- Add a small dollop of gentle Shampoo, massaging it into your still-wet Sponge.
- Rinse again and repeat until the water runs clear.
- Squeeze out any excess water and leave to dry atop a towel.
Complete your look
Now that you’ve aced your base, simply add eyes and lips to finish your look. From day to night makeup and false lash tips, you can find plenty more makeup advice via our blog.

